Showing posts with label lace. Show all posts

Wednesday, February 2, 2022

Flipping any YouTube video

Something I just learned. If you go to the URL of a YouTube video from the website (not the app) and replace YouTube or m.youtube with mirrorthevideo it will flip any video so you can view it mirrored. Great for turning any right, or standard,  knitting or crochet video into a mirror or lefty video


Monday, November 14, 2016

Beaded star edging

Celestarium edging


I recently finished the Celestarium shawl. I modified a popular edging that is used and have charted it. There are 2 charts on the PDF so that standard or mirror knitters can follow it. Due to the option of knitting this standard or mirror I did not label the / or \. use SSK or K2TOG as needed to get a matching lean per chart symbol.

 The edging is a 14 row repeat, but contains 13 beads per row! Make sure you have enough beads to compete this. I used 2 sizes of beads for my shawl and edging. For the shawl I used a triangular bead for the large stars and smaller 6/0 beads for the rest. for the edging I used mostly all 6/0 but used 1 larger one at the points.

My finished shawl is very bead heavy!

How many beads will you need?
total edge stitches divided by 7 (edge stitches needed per repeat). Take that and multiply by 13 (beads per repeat)
Stitches / 7 x 13 = beads needed

this is the PDF file for the star edging

And my ravelry project page for my shawl. I have detailed notes on how i completed it

May the stars be your guide


Tuesday, February 9, 2016


One row lace scarf

The base of this is co in multiples of:
Knit flat - 6+1
In the round - 6

Use a larger needle than called for. This yarn is some hand spun worsted and I'm using a size 9 needle.

For one I co 6+5 to create a 3 stitch garter edge.

Every row = k1, yo, k1, s1 k2tog psso, k1 yo. Repeat to end k1

This creates a richly textured fabric that is deeply rippled. Works great with self striping yarn. I will be turning minecinto s moebius cowl by grafting th ends


Tuesday, December 8, 2015

Drop stitch moebius cowl

Drop stitch moebius cowl
"The 80's will never die!"


This pattern is available on Ravelry!


Fingerling weight/sock yarn. I used:

Wild Hare Fiber Studio Hand Dyed Pinnacle Sock Yarn
colorway: Neon Lights
My cowl only took about 2/3 the hank. so this does not use much yarn at all! This particular yarn is UV reactive and will glow under black light
needle: Size 5 interchangable and a smaller size for the opposite end (I used a size 2 on the other end of mine) This will allow you to easily get all the wraps off the cord after they have worked their way around the cable. If you cannot use 2 different sized needles, this will be difficult to make! the stitches choke up on the cable as they work their way around the needle and are difficult to get back off to work them.


Co 155 (multiples of 10+5. Total stitch count will be multiples of 20+10) stitches using cats moebius co. To make the stitch pattern line up properly on both sides of the co edge you need to co in multiples of 10 + 5 giving you a total stitch count of multiples of 20 + 10.

For more information about the moebius cast on and other things about the moebius (including how to deal with wrong stitch counts), see my post: Demystifying the moebius!

Setup round: Place marker at the start of the round and purl one complete round. The 1st half will be really difficult to work as you don't have stitches, but just loops and the loops will be tight on the cabel. To help with this I have interchangeable needles and put the smallest tip I have (a size 2 in my set) on the end I knit my stitches off from. The 2nd half will be easier to knit. This also helps when knitting into the row with all the yo's as they tend to choke up on the cable as its being worked.
Round 1: (k6, yo, k1, yo 2, k1, yo3, k1, yo2, k1, yo) repeat to end, m1

Round 2: purl all stitches. On multiple yo's, purl the 1st wrap while dropping the rest as you work

Round 3: knit

Round 4: purl

Round 5: k1, (yo, k1, yo2, k1, yo3, k1, yo2, k1, yo, k6) repeat to end

Rounds 6, 7, and 8 are the same as 2, 3, and 4

*Only work the M1 on round 1. On all other repeats, just work this as a single knit stitch at the end of the row!

Repeat rounds 1 - 8 until the cowl is the desired width. Bind off loosely.

I did not block mine as I like the texture and ripply look of the fabric.

Friday, July 3, 2015

Sagataria shawl


This is a free pattern that is available on Ravelry. You can find it here

First I would like to stress this is not my pattern. I in no way wrote it. The charts I offer here reflect my mods. They do not give instruction to make the pattern. I suggest downloading the actual pattern than using these mods if you want to.

I am making this post because I did quite a few modifications to the pattern and also charted my bead placement. I thought it would be good to explain what I did.

1st. the body of the shawl.

Cast on:
This shawl starts with a 2 stitch garter tab. I have a post the shows how to do a garter tab so that you don't have to pick up any stitches when done. You can find it here (it's actually the post just below this one)

This was a traditional Shetland lace. the original has all the decreases leaning the same way so I mirrored them. this is the same stitch pattern used in Rock Island. The charts are mirrored on both sides so I eliminated the 2nd half of the chart so it would print larger. This is what I have for the body of the shawl. If you want to use lifelines in this portion of the pattern I would suggest inserting them on any double decrease row. these rows have the most stitches which makes it easier to pick up off the lifeline if needed.

Instead of the k3tog. I did a s1, k2tog, psso. this centers the decreases

this is the chart I made for chart 1

The edging:

Here I didn't really change the chart. I did change the decreases and used both s1, k2tog, psso and s2knitwise, k1, psso

for the most part I used the later so this created straight lines of stitches with a lined up stitch on top. I did use the 1st version at the tips of the arrows to allow them to come to a clear point. I also moved the decreases from the center of the arrow to the edge to better accent the lines of the arrow heads. Again, this chart is mirrored so you don't need the other side, this allows for larger printing.

I also changed the order of the charts on the page so better see how the pattern repeats lined up with each other. The highlighted stitches  are where I placed the beads I worked the stitch and than removed the loop and slipped a bead onto it before placing it back on the needle.

This bead placement does take a LOT of beads! But I think it's worth it as it really brings out the arrow pattern in the edging.

Here is my charts for the edging

The bind off:

I placed a bead at the tip of each point. I also worked the bind off in pattern. It calls for a stretchy bind off so I worked the one where you make 2 stitches and than knit them together. But I worked the 1st stitch in pattern.

So the bo on mine goes...
k2, slip back, k2tog (place bead on loop), yo, pass last stitch over the yo, *k1, slip back and k2tog* [repeat 4 times). ssk, slip back and k2tog, *k1, slip back and k2tog* [repeat 4 times]. yo pass last stitch over yo, k1, slip back and k2tog (place bead), yo, pass stitch over yo. Basically I worked the 1st stitch of the bo edge as though it were another pattern repeat than I bound it off with the last stitch I had on the needle.

I continued on in this same fashion. It's not necessary to do this, but I liked carrying the decreases to the edge.

Beads... beads... this has a LOT of beads!

when working off your edging every other cluster will turn into a arrow. Of these arrows they will stagger and every other will be shorter. the short arrows take 15 beads each and the long arrow takes 17

for the body of my shawl I worked 7 repeats. this gave me 36 full arrows along the edge 576 beads than another 70 for the increase arrows that resulted from increasing on the points. The edging took 25 beads for a grand total of 671 beads.

My beads are small and I used a size 13 crochet hook to place them on. Another method is to string them onto a beading wire than fold the end of the wire. hook the loop of the stitch with the bend of the wire and put the tip of the wire back into the bead and push the bead down onto the stitch.


Friday, May 22, 2015

No pickup garter tab

I have combined a couple techniques that has resulted in a garter tab that you don't have to pick up a single stitch to make!

1st cast on using the provisional co for toe up socks. For this sample I'll be making a 3 stitch garter tab. So I have 3 stitches on each needle.


 Just pull the needle through the 3 you won't be knitting right now so they are further down the cable and out of the way.

With the 3 stitches that are on the needle
kfb, k2 turn
k3 turn
kfb, k2 turn


repeat these steps. the 1st stitch of the kfb will be the one that you would have to pick up later. Were just doing it right now. End on a kfb row. Do these steps untill you have enough stitches to equal what you would be picking up later.


You can see the 3 loops on the cabel thsn 5 stitches created by the kfb and the last 3 are the live stitches

Now pull your cable tight causing the 3 stitches from the co to pop back up to the tab. My tail is kinda in the way here, but I've moved the cable through so all the stitches atr together.

turn your work and knit across all stitches. this is the 3 live stitches, however many you have on the side (i have 5 in my sample) and the 3 from the co end.

you have just made a garter tab and didn't have to pick up a single stitch!
Here is the co to my current shawl that I used this technique for. This called for a 2 stitch garter tab and 5 stitches to pickup along the edge as well as another 2 stitches from the start.

Friday, March 15, 2013

Steam blocking

I made a video of me blocking my recent shawl to show how easy steam blocking is. This shawl is crochet from KP Gloss Lace yarn which is a 70/30 blend of wool/silk Steam blocking is my preferred method for blocking. It's really fast and you eliminate that pulled look that you can get from over stretching on pins. For items that have rounded curves, this is a great way to block and not loose those lovely lines.


Here is the center crock stitch spine before I blocked it.


And this shows the difference after blocking. In the video you can see it just lay down as i block it.


Saturday, March 9, 2013

Crochet intarsia

This is a technique I came up with in an effort to eliminate the ends I would have to weave in while making my most recent crochet shawl. I am calling this crochet intarsia. Like intarsia in knitting, this technique allows you to work separate blocks in of color in lace without having to cut your yarn or using other stranded techniques. I leave each ball connected to the project, ready to pick up and work when I get back to it.

Reminder: I'm left handed and crochet left to right holding my hook in my left hand

Being that this is lace work I didn't want to have to weave ends in everywhere but I wanted it in 2 colors split 3 ways. I have taken photos of how I did this. But you will have to forgive me as my photos are of me working this current project which happens to be crochet out of lace weight black and red yarn so the photos may not be the best (the yarn is a wool/silk blend so it does show up kinda well considering). They should be good enough to get the idea/technique across though.

This may seem quite tedious of a process, but when you consider the other option I had to make this shawl in this color scheme was to clip the yarn and weave in each end on every row several times for each color... this is a rather attractive alternative. With this method, the only ends I have to weave in are the 3 from the start and the 3 at the tip of each wing when I am done.

This shawl is the Icarus Shawl available form interweave and this is the Ravelry page for the pattern as well.

I have been taking detailed notes as to my changes for this project on my Ravelry project page

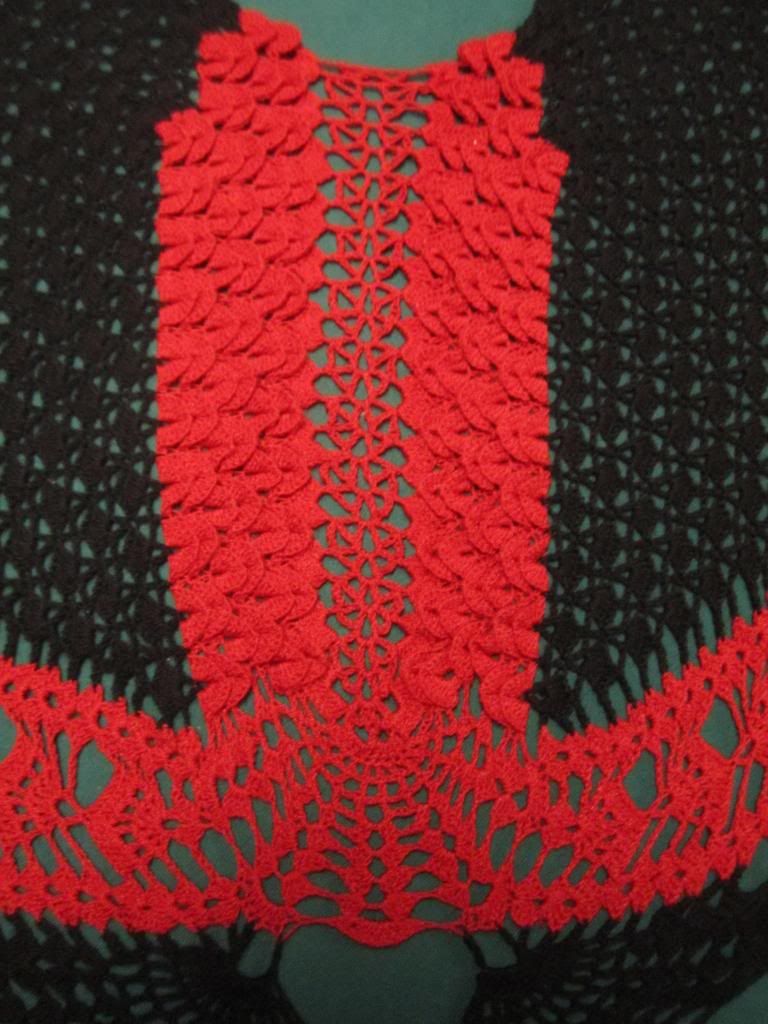
This is the shawl finished and blocked.

You can enlarge any picture for a full clear view.


Here I'm about to start the color switch. I have a chain 3 for my black (space between black and red shell)


I have my loop left on my hook from my chain 3 and now I'm going into the black in the row below where the red passes through the black chain space.

I am doing a yarn over and will draw a loop through the black to give me a working loop to crochet with. still leaving my black loop on the hook. I pretend it's not there. you can drop it if you like.

I have drawn up a loop and am ready to crochet with the red.

I have slip stitched back to the chain 2 in the shell.
 I have chained up 2 chains and slipped that loop of black around the loop of red on the hook.


Now I close the loop of red to fit the hook

 now I bring my hook around those chain 2 and snag my yarn and bring up a loop this traps that chain 2, this will become part of the 1st stitch.


Here I went into the chain 2 space in the shell below and drew up a loop. I yo and draw through 2 loops on the hook, yo and draw through the last 2 loops completing the 1st double crochet, trapping my black yarn form the other section and also wrapping my chain 2 up into the stitch. I than did 2 dc to complete the 3dc cluster of that side of the shell. The black yarn is left attached to the ball and forgotten till we need it again.

Now I'm at the other side of the red section and have completed my last shell.
 I am going to insert my hook into the stitch of the shell below that the black is going through.

Now I yo and draw up a loop of black (note the red loop i was working on is still on the hook, you can drop it or just forget it exists for a minute)
 Now I have slip stitched back over the chain 3 space and up the point where I would normally crochet into for my 1st stitch in after the shells section.

A note about slip stitching back over the chain, this is black lace weight yarn so instead of trying to find each stitch I simply slip stitch around the chain, chain 1 and slip stitch around the chain, easier and faster than trying to slip in each stitch. this is how I slip stitch around all the chains in this shawl.
 my 1st stitch coming off the red is a chain 3 space and a dc, so  I have chained 6 to make the equivilant space. I have slipped my red loop over my black loop on the hook. and now I will slip stitch back over 3 of the chains I have just made trapping the red loop of yarn.
 Here I am back to the point to work in pattern.Slipped back the 3 stitches and the other 3 chain stitchs represent my 1st dc. Now I can just work in pattern as written.
 I have worked to the end and turned my work and came back to where I just left off in photo above and am ready to change back to the red.
 I will insert my hook into the black strip form the row below where the red is trapped through it.
 this shows where I have put my hook through the black.
 I will now slip stitch back to the chain 2 space of the shell, just as I did earlier.

 doing a chain 2 and slipping my black loop from the previous color section around the red loop on the hook.
 Now i have brought my hook behind my chain 2.
 I have done a yo to bring the loop from behind the chain 2 around to the front and than inserted my hook into the chain 2 space of the shell and will complete the stitch as a normal dc trapping the black yarn and the chain 2 from my chain up.
 This shows the black yarn now taped in the 1st stitch of the shell.
 and I work across the red section to the last shell on the other side.
 I will put my hook into the section of the shell that the black yarn is trapped through and yo and draw up a loop with the black yarn.


 Now i have slip stitched across the chain 3 space of the black yarn up to where my 1st stitch is to start in my background shell (which is the 4th dc.
 For this pattern, I would normally start this section with a chain 3 space and a sc into the 4th dc in the cluster below (this is the stitch I slipped back to). So I have chained 3
 And slip the loop of red yarn around the loop on my hook.
  And will slip stitch back across this chain creating the chain 3 space required.

 Than I will do a sc into the same stitch I started from and am ready to work back in pattern as written.


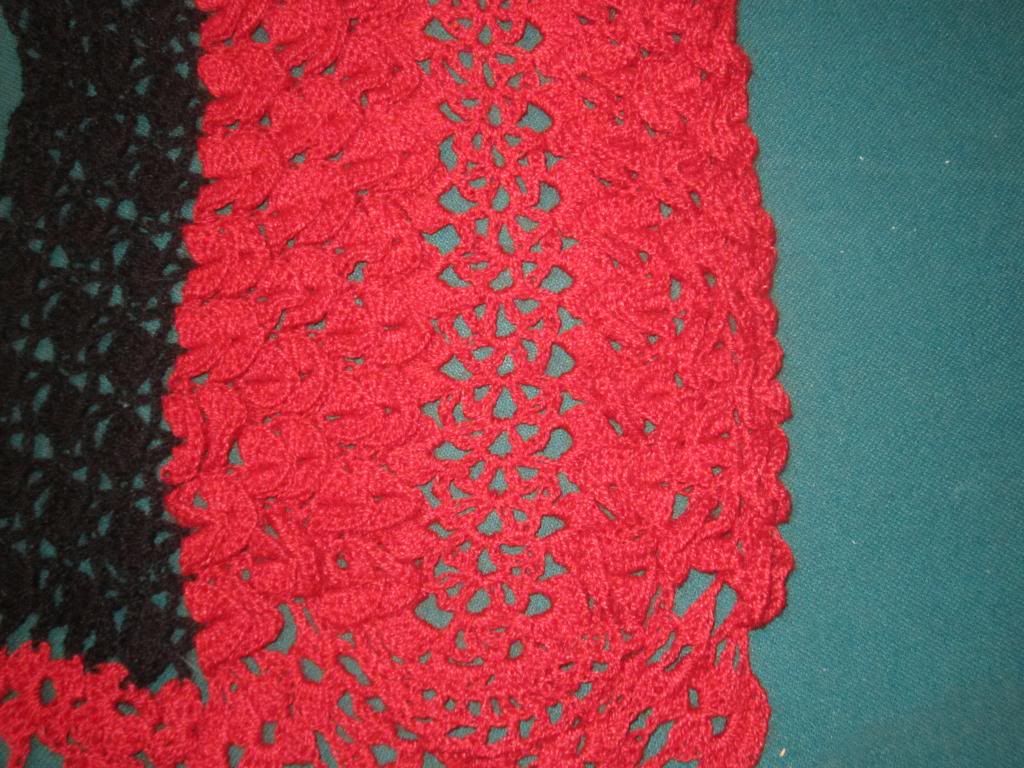
Here is a closeup of the left wing tip. I like how this technique works. Yes, it does make those joining chains thicker, but so would weaving in ends.