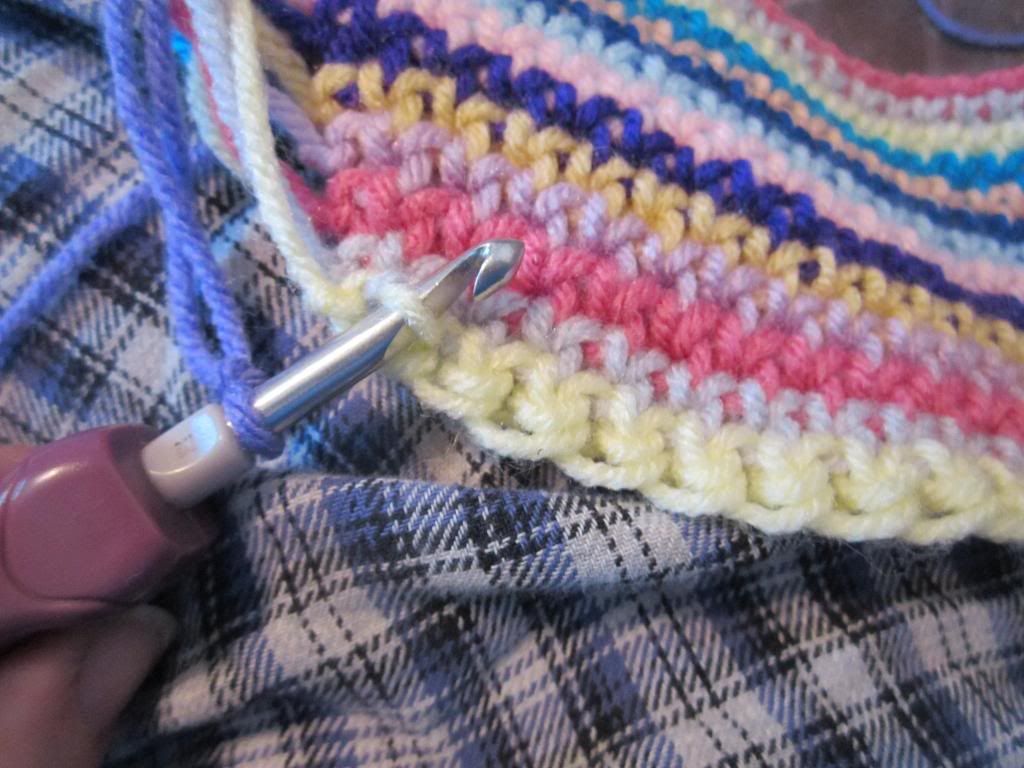
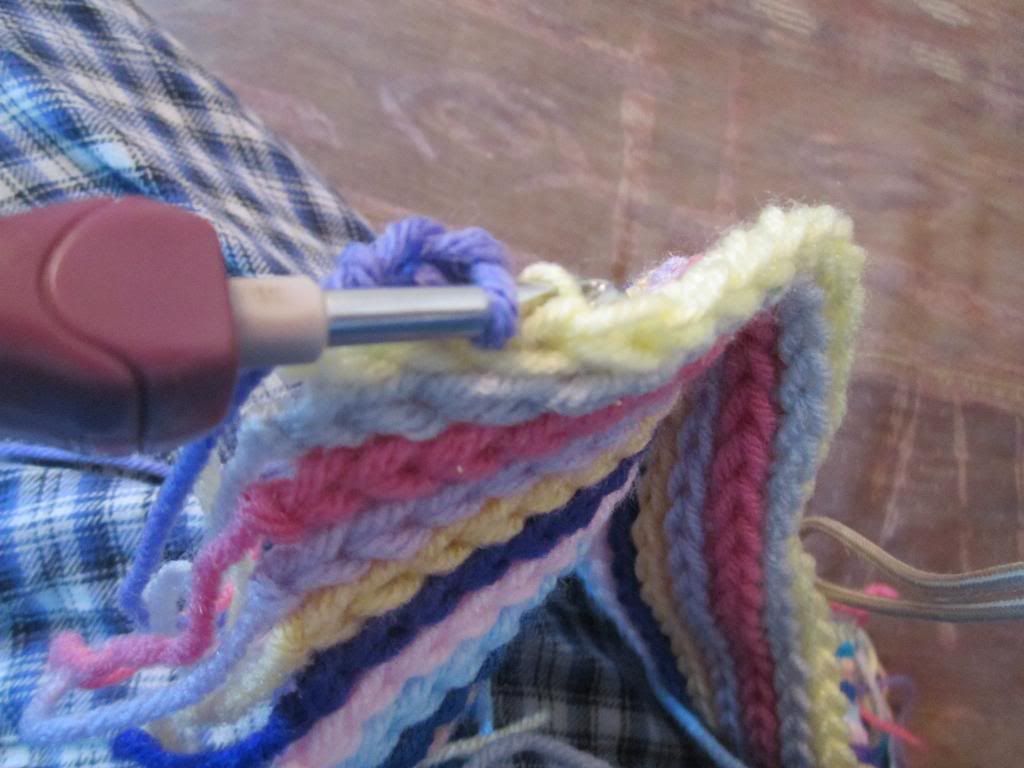
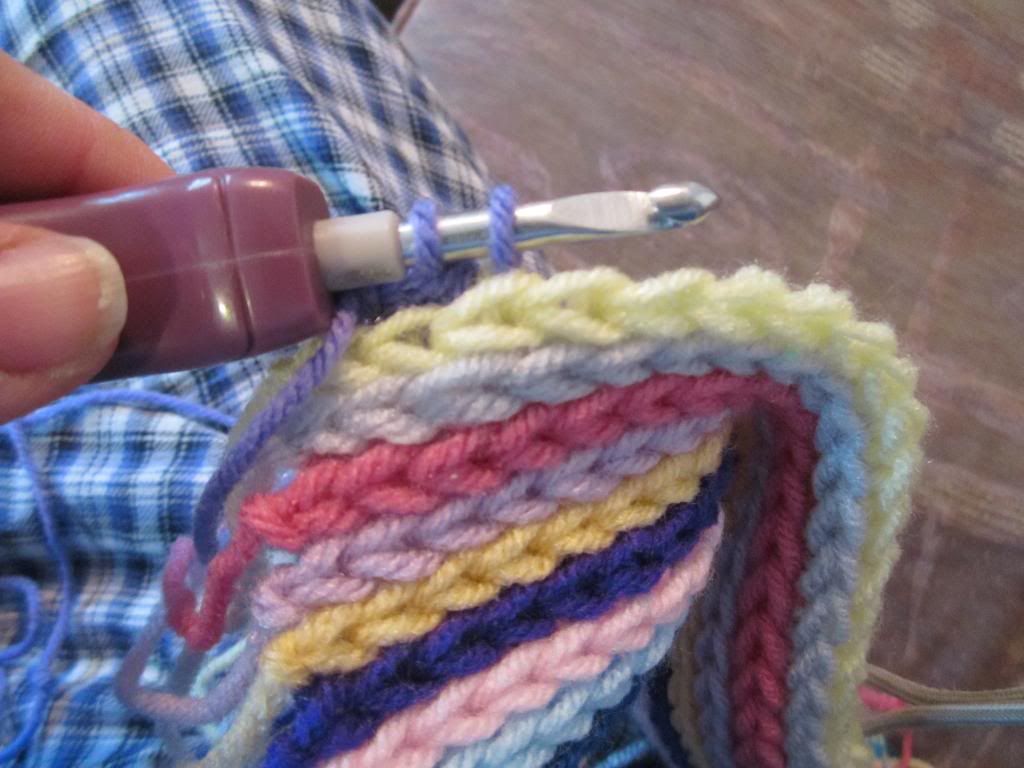
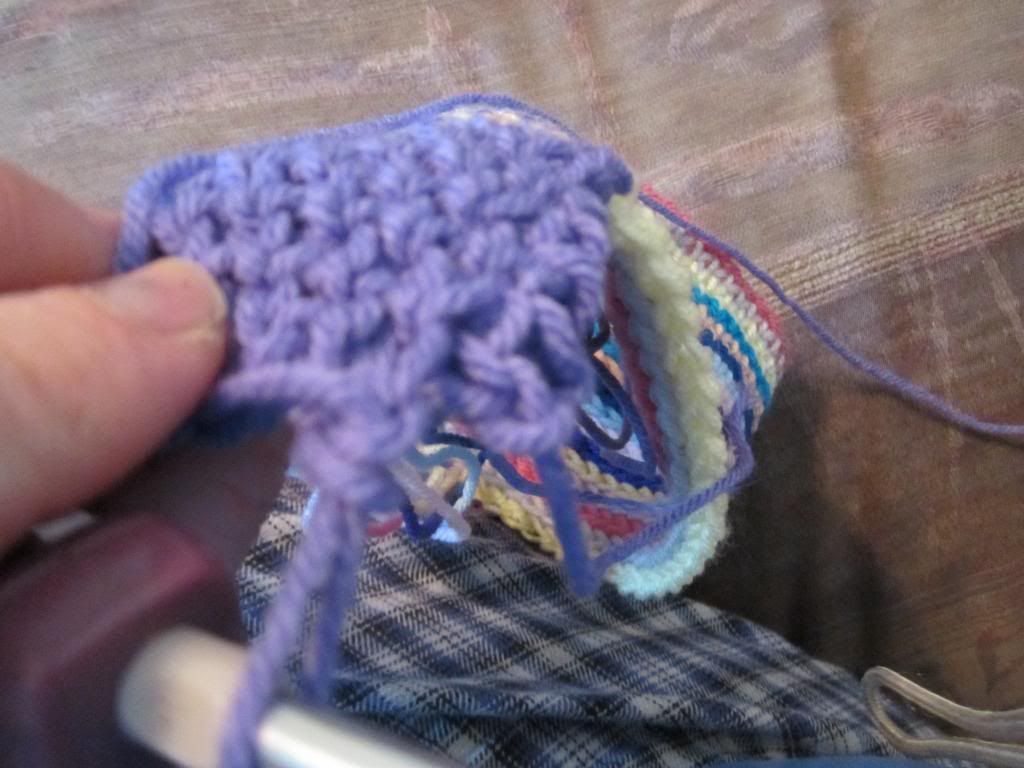
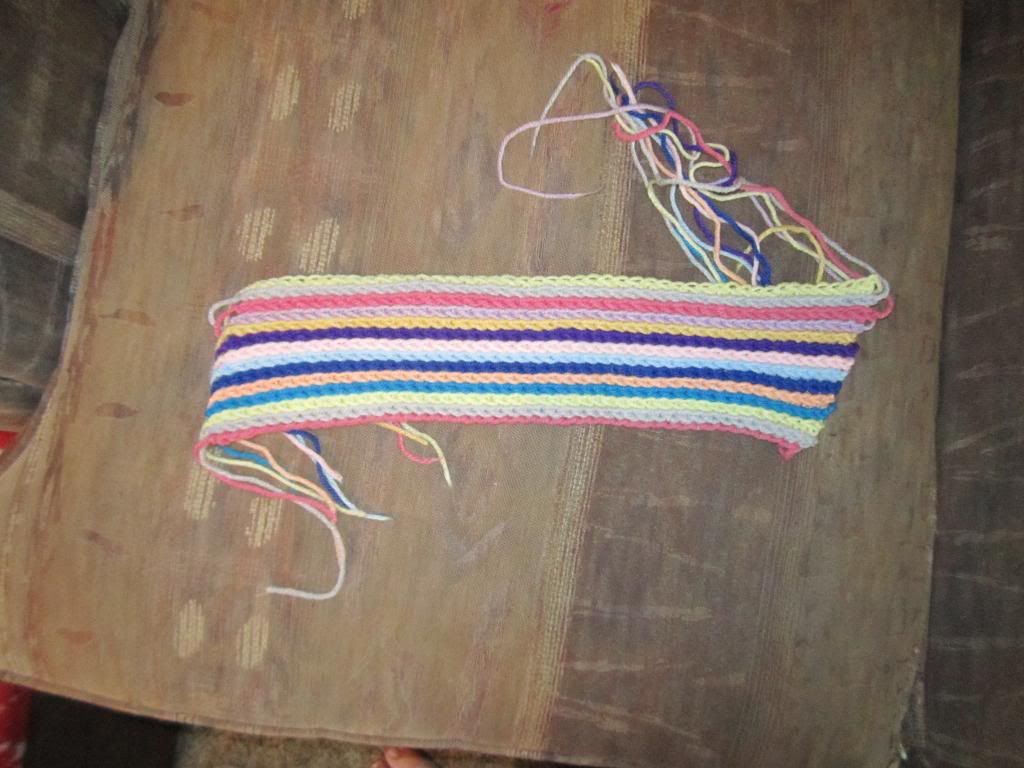
Something I just learned. If you go to the URL of a YouTube video from the website (not the app) and replace YouTube or m.youtube with mirrorthevideo it will flip any video so you can view it mirrored. Great for turning any right, or standard, knitting or crochet video into a mirror or lefty video
A place where I can share patterns and help others on their way to loving fiber crafts while being left handed.
Wednesday, February 2, 2022
Tuesday, January 7, 2014
Tunisian lattice throw
This throw is tunisian crochet on the bias and has a simple but elegant texture. For mine I used Caron Simply Soft in Heather Grey and it took about 5.25 skeins. This pattern is written and will allow you to make this as wide or long as you like. If you want to switch up the edging or add open spaces to it, it is easy to modify.
The pattern is written
Tools:
Tools 6mm / J extended tunisian/afghan hook (or long straight hook). 6 skeins 1500 yards / 852 grams Caron Simply Soft Heather Grey
I have 3 downloads for this pattern.
Tunisian Lattice Throw- mirror. This pattern includes photo instructions on how to create the tunisian stitches and they are left handed.
Tunisian Lattice Throw - standard - This is the same print but I have went and flipped all the images so they appear right handed.
Tunisian Lattice Throw - Chart (left hand) - This is a chart for this pattern. It is a left hand chart ( read left to right) if you are right handed and read patterns right to left you will want to either go into your advanced printers settings and print this as a mirror image so that you will be able to read it right to left. Or just read the printed chart left to right. This chart does not have detailed stitch directions so use it along with the instructions on the written patterns.
The 1st pages are just bare bones with 2 images. I than follow with photos on separate pages to show how to do the various tunisian stitches required for this pattern. This will allow you to just print the pattern or print the photos and tutorials.
I think this blanket works best with a medium shade yarn. Nothing to bright or dark or the texture will be harder to see. Also I chose a solid grey but Tunisian tends to play well with variegated yarn.
This would make a lovely large blanket, just be cautious to make sure you purchase enough yarn as this does consume a LOT of yarn!
I don't know why these pictures are showing up sideways,
Sunday, May 19, 2013
back bar single crochet
To make the edges more straight. work one row regular, stitch for stitch to the end. and work the next row with the sc2 in 1st bar and sc2tog in last 2 bars. this will help keep the edges in a straighter line.
Sunday, April 29, 2012
Lacy shells edging
Saturday, March 10, 2012
felted crochet slippers
I can't take any credit for these awesome felted slippers but realized it was just taking to long to knit them and figured "why take extra time to make something that is going to be felted down anyway?" so I frogged and did them in single crochet.
Now that being said, I have never felted before so I only made 1 slipper. Seeming how I was not following the pattern (crocheting instead of knitting) and I was "winging it" for size and had nothing to reference it to (never felted before) so I couldn't even guess if it would fit. I figured it would be safer to make just 1 slipper, felt it and see if any adjustments needed to be made. But it turned out to be a perfect fit. These are defiantly mens sized though, I have a rather wide foot and I actually wear an 11 in mens. I ran them through the wash on hot/cold 2x to felt them down.
I wanted to try these because my uncles are coming in and I thought it would be fun to make them felted slippers but send them home w/the slippers not felted so they can shrink them to fit. All my family is really crafty so I think it would be neat for them to do. And I had one uncle a long time ago ask if I knew how to make slippers that didn't wear though because he loved home made slippers but wore holes in the bottoms to easily.
When I was knitting them per the pattern instructions, I was making the mens size. So when I started to crochet them, I compared my square sizes and I made sure my square was the same size as it was when I was knitting them.
Yarn: fisherman's wool
Hook: I (5.5mm)
My mens size squares are 18 stitches wide (single crochet) and 20 rows each
I'm thinking that for womens size I will likely make them 15-16 stitches wide and 17-18 rows per square.
I followed the same construction directions as in the original knitted pattern crocheting it in one long strip and than crocheting the 2 "flaps" onto the strip. Also I found the construction a tad confusing so I made little tags and tacked them to the edges that needed to be sewn together to help keep things straight. At 1st I didn't do this and I sewed the A seams together and realized that it would going to be confusing to try to match up edges so I made the tags. When I seamed them I did so rather loosely. The seam yarn is at the same tension as the rest of the yarn, I figured this was a good idea and it turns out I can't even feel the seams ♥
To better understand the construction and square placement, I printed out the diagram after filling each square with a different color and cut it out and taped it together per the pattern instructions.
Oh, I didn't like how shaggy the outside of the slippers looked after felting so I took our electric hair clippers to them and shaved all the fuzzy off the out side.
Now I just have to make the other one... and many more♥
I finished the slippers! Here are some various shots of them in diffrent stages.
I did find that I liked the fit much better if I sewed the cuffs together in the front for about 5 stitches. it just feels snugger. I'll probably go back to the 1st slipper and stitch it closed in the front just a bit.
this is what it looks like before I seamed it
3-25-2012
Another slipper update.
I have made another pair of these slippers. I gave them to my step mom and would concider them a childs/large childs size as she has rather small feet and can actually wear boys shoes.
But with these slippers I modified the heels. As the pattern is, it is composed of full squares. but when you seam them together like that the heel ends up with a pointed flap sticking out the back. I simply cropped the corners off the squares that will be seamed together for the heel.
On these slippers each square is 14 stitches x 16 rows.
What I did was on the 2nd square of the strip which would be the heel, I crochet 8 rows at 14 stitches wide. than I reduced 1 stitch per row untill I reached my row height of 16 rows. I attached the next color and worked one row, stitch for stitch. And than I increased 1 stitch each row until I had worked back up to my stitch count of 14 stitches and finished the square to a height of 16 rows.
This does not result in any new seaming directions. I seam them from the toe up as the diagram states. I seam up to one cuff and than start at the broken heel and seam that and work around to the other cuff. This just makes a more rounded heel and eliminates the heel flap.
Here are some photos of how the modified heel is worked.
This is just about finished. I like to have the dark end be the cuffs so that is where I put my modified heel.
And here is a close up of it seamed together. I just think this looks neater.
Wednesday, March 7, 2012
Classic 10 point hot pad
Also, remember that I am left handed and I crochet from left to right. The downloadable pattern is not hand bias so there should be no confusion for anyone desiring to follow the written pattern. But if you are right handed, these tutorial images will look backwards to you, just reverse what you see here to work the pattern right handed if using the photos.
This is not intended to be used as a pot holder but rater a decorative hot pad, or trivet if you will, to protect hard surfaces from hot dishes.
And a reminder for those looking at these images; you can click to enlarge any of the images for a better view, the photos are high quality and will show up clear.
I hope you enjoy this pattern!
sc = single crochet
ch = chain
bl = back loop
invisible join = I did a post explaining this technique
sc join = place slip knot on the hook, insert hook into stitch indicated, yo and draw up a loop, yo and draw through both the loop and the slip knot.
Center:
With Color A Chain 2, 6sc in 2nd chain from hook, (do not join) Work 2 sc in each sc around until you have 30 sc. on next round work 1sc in each sc (30 stitches) sc 3 (this just offsets your last stitch). Do not break yarn. (30 stitches on ring)
At this point i have finished my center circle and am about to start my frsc.
*Note: If you really don't want to work the frsc you can skip this tutorial and work as
Round 1: ch20, 1 sc in back loop of next 3 sc on center ring. repeat around to create foundation chain for all 10 points.
Round 2: (working into the chain stitches, NOT the chain space) 1sc in next 10 ch stitches, ch2, 1sc into next 10 ch stitches, sc into next 3 sc. Repeat around. continue one with round 2 of pattern as written
Insert your hook into the space you just worked your last sc on the center ring.
Yarn over and draw through both loops you have on your hook
Yo and draw up a loop, yo, draw through 1 loop on hook, yo and draw through the 2 loops left on the hook.
Repeat the steps to make the frsc for 10 stitches. When done you will have a total of 20 frsc and a bend where you did the ch2 as shown in this photo. The black lines point to the 1st 10 stitches and the blue lines point to the 2nd 10 stitches.
When you have completed this step, sc into bl of the next 3 sc on the center ring.
When you have reached the last petal and done your last 3 sc. On the last sc leave 2 loops on your hook and break your yarn leaving a good tail to weave in later. Now join in color B. Complete your last sc that you made with color A by hooking color B and pulling through both loops on the hook.
Round 2-4: With color B sc in each sc around, in ch2 points work (1sc in bl of 1st chain, ch2, work 1sc in bl of 2nd chain). Continue in this pattern until you have completed 3 rounds of color B. break yarn and join in color A on last stitch.
Round 5: Work 1 round same as above in color A. Crochet around until you are 1 stitch away from where you started. Break yarn and pull through your last stitch. Skip next stitch and work invisible join into 1st stitch of color A on this round. Weave in ends.
Now your hot pad is nearly complete! Don't worry if it looks a mess. This is what mine looked like after completing round 5.Take the points and twist them in the same direction (it doesn't matter which direction you twist them so long as they are all twisted the same way) as you work so that the right side of the center is facing you but the wrong side of the points is also facing you.
Round 1: With wrong side of point facing you, start at the chain 2 corner space and count back 8 sc.
With color C, start at the ch 2 space and count back 8 sc, working in both loops join yarn directly with a sc into this stitch. Working through both loops work 1 sc in next 7sc. Sc, ch2sc in corner ch2 space, 1sc in next 8sc. [Twist next point in the same direction and count back 8 single crochet from ch2 space. 1sc in next 8sc, (sc, ch2, sc) in corner ch2 space, 1 sc in next 8sc.] Repeat around until all points are outlined.
I do not know why this image loaded sideways, but this is is a close up of how I finished the edging and weaved in the tail.
Now there is just one more thing you need to do. When it's finished it will look a bit wonky. This is my hot pad just after I finished.
Now just work your way around it straightening out the points and folds and you are done!