Saturday, March 23, 2013

Adding a corchet edging

I am working on a collective blanket and I have received crochet and knit squares from around the world for this blanket. Lots of gauges are different and I am going to crochet the blanket together. So to prep for this I am putting a crochet edging on every square to make it easier to assemble. the thing is there are so many different gauges and I am a very relaxed crocheter (and knitter) so my gauge is looser than some PPL's. I'm also crocheting with a I hook

If I work stitch for stitch my edging would end up ruffled because my gauge is much looser than the original knitter/crocheters. So  I thought I would take the opportunity to make this little post.

This is how you can tell if you will end up with a ruffle or a pucker wend adding a crochet border to a project weather it is knit or crochet.

Sorry for the quality of these photos, I took them with my phone. But I think you can still see what I'm talking about. Here I have corchet along the edge of a square. but you can see the edge of my stitch is nearly at the edge of the next stitch  I have not crochet into. If I keep going at a stith for stitch rate, I will end up with a edging that ruffels. so when I see my stithc start to run ahead of the stitch I hven't worked into yet I know it's time to work 2 as 1 off my square edge.


 So to make up the difference here I have simply inserted my hook inot hte back loop of the next stitch and the one after that and worked them as 1. You can see now my stitch is no longer leaning over the next stitch and I have compensated for the difference in gauge. You want your edging stitch to be directly above the stitch you are working into. I really like to crochet into the back loop (if able) when this may be an issue because you cannot see the crochet 2 tog and it doesn't interfere with the edging lines.

Some squares I had to sc 3 and than sc 2tog to get the edging to be nice and smooth.


An if you are working your edging and it seems your stitches are starting to pull back  you need to crochet 2 into the 1 on the next stitch to make up for the difference. IF you don't than you will end up with a tight edge that may pucker and curled up.

And that is how you read your crochet and you will be able to keep your edging in match with your project if they happen to be at different gauges.

Now I did have one knitted square that was so tight on the edge I could not get my I hook into the stitches to make an edging. the way I adjusted for that was I did 1 round with a G hook because it fit more easily into the stitches and than the next round with an I hook and didn't increase stitches in the corner as the hook size increased it naturally.

Friday, March 15, 2013

Steam blocking

I made a video of me blocking my recent shawl to show how easy steam blocking is. This shawl is crochet from KP Gloss Lace yarn which is a 70/30 blend of wool/silk Steam blocking is my preferred method for blocking. It's really fast and you eliminate that pulled look that you can get from over stretching on pins. For items that have rounded curves, this is a great way to block and not loose those lovely lines.


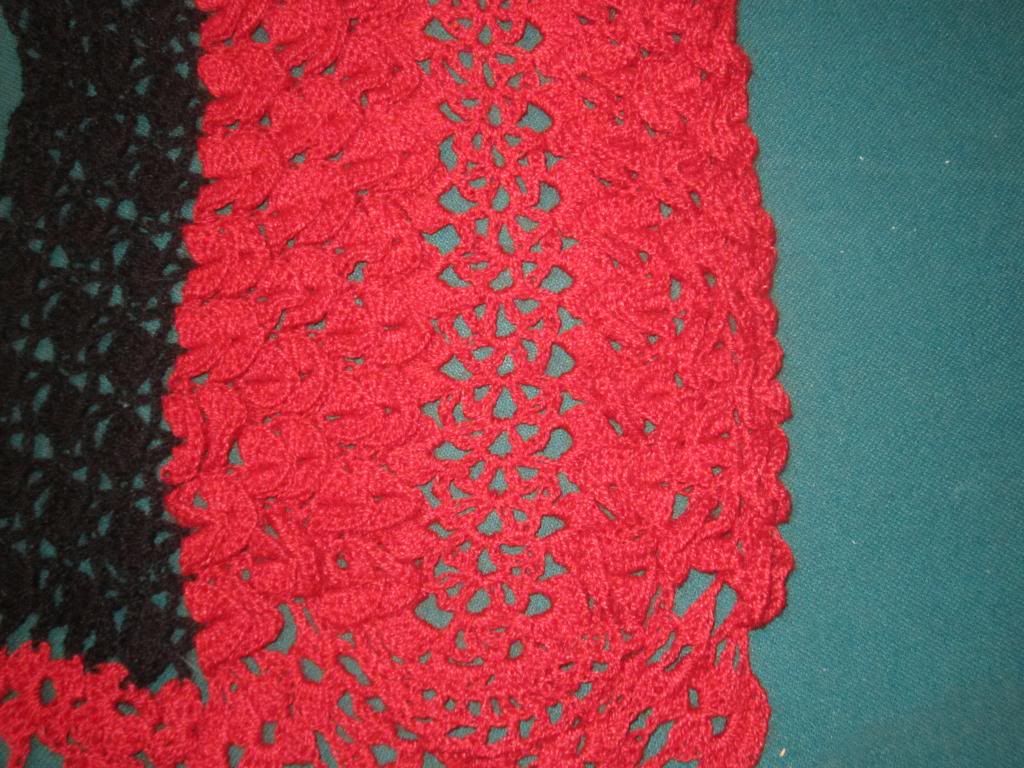
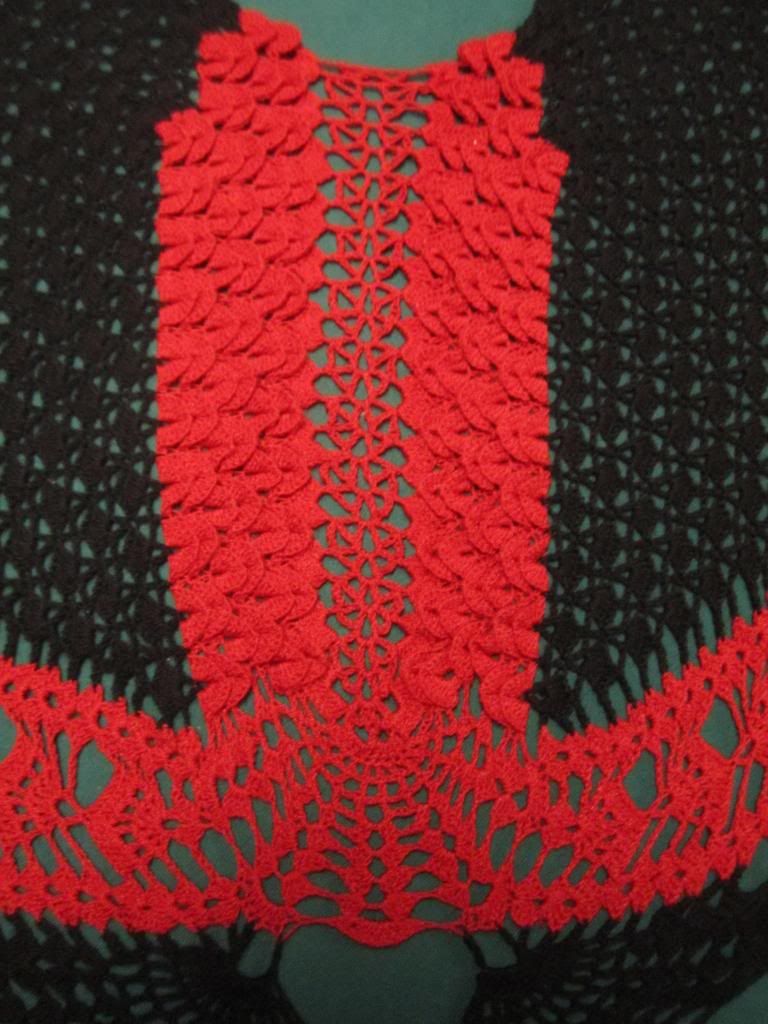
Here is the center crock stitch spine before I blocked it.


And this shows the difference after blocking. In the video you can see it just lay down as i block it.


Saturday, March 9, 2013

Crochet intarsia

This is a technique I came up with in an effort to eliminate the ends I would have to weave in while making my most recent crochet shawl. I am calling this crochet intarsia. Like intarsia in knitting, this technique allows you to work separate blocks in of color in lace without having to cut your yarn or using other stranded techniques. I leave each ball connected to the project, ready to pick up and work when I get back to it.

Reminder: I'm left handed and crochet left to right holding my hook in my left hand

Being that this is lace work I didn't want to have to weave ends in everywhere but I wanted it in 2 colors split 3 ways. I have taken photos of how I did this. But you will have to forgive me as my photos are of me working this current project which happens to be crochet out of lace weight black and red yarn so the photos may not be the best (the yarn is a wool/silk blend so it does show up kinda well considering). They should be good enough to get the idea/technique across though.

This may seem quite tedious of a process, but when you consider the other option I had to make this shawl in this color scheme was to clip the yarn and weave in each end on every row several times for each color... this is a rather attractive alternative. With this method, the only ends I have to weave in are the 3 from the start and the 3 at the tip of each wing when I am done.

This shawl is the Icarus Shawl available form interweave and this is the Ravelry page for the pattern as well.

I have been taking detailed notes as to my changes for this project on my Ravelry project page

This is the shawl finished and blocked.

You can enlarge any picture for a full clear view.


Here I'm about to start the color switch. I have a chain 3 for my black (space between black and red shell)


I have my loop left on my hook from my chain 3 and now I'm going into the black in the row below where the red passes through the black chain space.

I am doing a yarn over and will draw a loop through the black to give me a working loop to crochet with. still leaving my black loop on the hook. I pretend it's not there. you can drop it if you like.

I have drawn up a loop and am ready to crochet with the red.

I have slip stitched back to the chain 2 in the shell.
 I have chained up 2 chains and slipped that loop of black around the loop of red on the hook.


Now I close the loop of red to fit the hook

 now I bring my hook around those chain 2 and snag my yarn and bring up a loop this traps that chain 2, this will become part of the 1st stitch.


Here I went into the chain 2 space in the shell below and drew up a loop. I yo and draw through 2 loops on the hook, yo and draw through the last 2 loops completing the 1st double crochet, trapping my black yarn form the other section and also wrapping my chain 2 up into the stitch. I than did 2 dc to complete the 3dc cluster of that side of the shell. The black yarn is left attached to the ball and forgotten till we need it again.

Now I'm at the other side of the red section and have completed my last shell.
 I am going to insert my hook into the stitch of the shell below that the black is going through.

Now I yo and draw up a loop of black (note the red loop i was working on is still on the hook, you can drop it or just forget it exists for a minute)
 Now I have slip stitched back over the chain 3 space and up the point where I would normally crochet into for my 1st stitch in after the shells section.

A note about slip stitching back over the chain, this is black lace weight yarn so instead of trying to find each stitch I simply slip stitch around the chain, chain 1 and slip stitch around the chain, easier and faster than trying to slip in each stitch. this is how I slip stitch around all the chains in this shawl.
 my 1st stitch coming off the red is a chain 3 space and a dc, so  I have chained 6 to make the equivilant space. I have slipped my red loop over my black loop on the hook. and now I will slip stitch back over 3 of the chains I have just made trapping the red loop of yarn.
 Here I am back to the point to work in pattern.Slipped back the 3 stitches and the other 3 chain stitchs represent my 1st dc. Now I can just work in pattern as written.
 I have worked to the end and turned my work and came back to where I just left off in photo above and am ready to change back to the red.
 I will insert my hook into the black strip form the row below where the red is trapped through it.
 this shows where I have put my hook through the black.
 I will now slip stitch back to the chain 2 space of the shell, just as I did earlier.

 doing a chain 2 and slipping my black loop from the previous color section around the red loop on the hook.
 Now i have brought my hook behind my chain 2.
 I have done a yo to bring the loop from behind the chain 2 around to the front and than inserted my hook into the chain 2 space of the shell and will complete the stitch as a normal dc trapping the black yarn and the chain 2 from my chain up.
 This shows the black yarn now taped in the 1st stitch of the shell.
 and I work across the red section to the last shell on the other side.
 I will put my hook into the section of the shell that the black yarn is trapped through and yo and draw up a loop with the black yarn.


 Now i have slip stitched across the chain 3 space of the black yarn up to where my 1st stitch is to start in my background shell (which is the 4th dc.
 For this pattern, I would normally start this section with a chain 3 space and a sc into the 4th dc in the cluster below (this is the stitch I slipped back to). So I have chained 3
 And slip the loop of red yarn around the loop on my hook.
  And will slip stitch back across this chain creating the chain 3 space required.

 Than I will do a sc into the same stitch I started from and am ready to work back in pattern as written.


Here is a closeup of the left wing tip. I like how this technique works. Yes, it does make those joining chains thicker, but so would weaving in ends.

Saturday, January 26, 2013

Long tail cast on

Here is a video which I show how to work the long tail cast on left handed. I start by using just one strand  than at about 1:40 I show how to use 2 strands which is really useful if you do not know how much tail you will need for your co edge when casting on a lot of stitches (ex, sweaters, blankets). I also explain how to make sure your long tail cast on edge remains stretchy.

 
this shows how stretchy the long tail cast on can be. I continued working off the cast on in this video to create my swatch for my bind off video. Here is a clip that shows it fully stretched. Leaving space between the stitches is the key!


Monday, January 21, 2013

I'm making videos - how I knit

So I have started to toy with making videos. As a left handed continental combined knitter I wanted to show how I knit because I have had a good amount of flack for it. I have been told I knit wrong. I have also been told I shouldn't teach other people how I knit.

So, here's a video explaining how I knit. I also explain what leading leg is, how to identify it and the effects of combined knitting.

I would like to know what others would like to see. Is there anything you would like to have me post in a video?


In this video I show how I knit without turning


Sunday, December 16, 2012

Cookie party 2012

I haven't posted in a while but I have been busy!

We just had our cookie party Saturday and it was a hit! This year we made gingerbread houses. we made up the dough and Anja cut out templates for the house parts. we collected lots of candy and edible decorations for the houses.

this was the gingerbread recipe

Heat to boiling point:
2/3 c brown sugar, packed
2/3 c molasses
1 tsp ginger
1 tsp cinnamon
1/2 tsp cloves

remove from heat, and add:
2 1/4 tsp baking soda

Pour this over 2/3 c margarine in a bowl. Stir until margarine melts.

Add and blend thoroughly:
1 egg
4 1/2 c sifted flour (approximate)

Knead lightly (10-15 strokes on floured board)
Divide into 4 pieces and form into flattened balls. Wrap in plastic and let cool a bit.
Roll out about 1/4-3/8” thick and cut out each set twice (dorky’s note, this is the house pieces). Note: Do not make the dough too thick.
Bake at 350; on greased baking sheet or parchment for 15 minutes.

*note - it originally called to let chill a couple hours but when I did that I couldn't roll it out for nothing and had to add water and butter my hands to stop it from crumbling. So we ended up mostly just cutting it straight after kneading.

For the Royal Icing I use the Wilton recipe that uses meringue powder. it's really easy to make. Just be sure not to over beat it. Also allow the walls to harden and set before "gluing" on the roof. Royal icing get's rock hard and is a very effective (and tasty) glue

the decorations we used:
pull and peel twizlers
mini and regular m&m's
pretzel sticks
mini candy canes
mini Nilla wafers
cashews
holiday "drops"
jelly beans
sprinkles
gummy bears
fruity twizlers
Jolly ranchers
peppermints
powdered sugar for snow

we melted the jolly ranchers in a low, 250ºF oven in silicone ice cube trays (the type that have sort of a gem shape to the bottom) to make gems. Lots of the people used them to make windows. We also melted the jolly ranchers on silicone pan liners so that they would spread out flat which is what you see as the roof tiles on one house and "stepping stones" in front. We melted the peppermints as well on the silicone liners. the silicone kind of grabs the bottom of the mit and it melted in really neat ways as the candy ran.


Saturday, October 6, 2012

Key tag cozy


Key tag cozy

This is something I have been thinking about for a while and finally made because everything needs a cozy!

 The inspiration for this is that I have a lot of tags and being that they are open on a ring the bar codes rub off and some are chipped. For this I knit it flat in a version of double knitting that allows you to knit an open tube in the round and flat at the same time. 2 rows = 1 round

Materials needed:
size 2 needles - you will need at least 3 needles. For mine I used double point needles (but I treated them like straights)

Small amount of sock yarn

 In short this is a stockinette tube with a small rib on the open end. You can work it on DPN's or with magic loop. This is just a fun way to try a different double knitting technique.

Instructions:
Cast on 20 stitches (in even amounts if you need more or less). I used the long tail cast on and snugged my stitches up together to keep the end from flaring out because these stitches will be shared between  2 sides.


body of cozy:
*slip all stitches purlwise with yarn in front

s1,  p1,  repeat to end of row, turn

repeat this row untill the tube is about 2 inches long. If you are skipping the ribbing, make this section a few rounds longer. 

Ribbing (optional) :
s1, p1, s1, k1,repeat to the end of row, turn

Repeat this row untill you have about 5 rounds of ribbing.

bind off:
this is where the other needle comes in handy. When you have finished your last row you still have all the stitches shared on one needle.
 Now take 2 needles and slip the stitches onto them diving the stitches between front and back to open the tube. Slip the 1st stitch onto the back needle, 2nd stitch onto the front... *remember, I'm left handed so I'm slipping my stitches onto the needles in my left hand.

 Repeat this untill the stitches are divided and your tube is open
Now bind off in pattern using a stretchy bind off. knitting the knits and purling the purls. p1, k1, slid both back and k2tog, *p1, slide both stitches back and p2tog, k1, slide both stitches back and k2tog*. repeat between * and * untill all stitches are bound off.

Tie in your ends.

putting this on your key ring

Leave your finished tube purl side outout
In the center about 3-4 rows down from your cast on edge, slid this onto your ring slopping through both sides at the same spot. Try not to split the stitches.


Now just turn it knit side out