Don't know if anyone reading this has heard yet but Spinrite has bought Caron. Spinrite is the Canadian company that currently owns Bernat, Paton’s, Lily, Pisgah and the Michaels house brands of yarn. They are the company that bought Peaches n' Cream earlier this year.
Now Caron will no longer be an American company and will be moving to Canada. I will be looking to see what this means for the Caron line of yarns, particularly Simply Soft which is my favorite yarn for my lace scarfs.
I will also be keeping an eye out to see if this means they will be liquidating their US stock like they did with Peaches n' cream.
Saturday, December 24, 2011
Saturday, December 17, 2011
Christmas cookie party
So this year I invited friends and family over again for cookie decorating. But instead of regular Christmas cookies I made a cookie tree for each family to decorate. This ment I had to make 7 trees! I have a cookie cutter set that is 10 star cutters in stepped sizes and you make 2 of each and stack them into a tree.
Now I will suggest if anyone is thinking of making these trees. Start with making the smallest stars 1st. that way if you run out of dough or energy you can stop and have a smaller tree but still in proportion. I made the bottoms and than tops so was committed to making all the cookies in between. And it took me 6 batches of dough to make 7 trees
before we got started


Friday, November 4, 2011
Kitchener - abridged version
So the ever illusive and intimidating Kitchener stitch (aka, grafting & invisible join). It's really not that scarey of a stitch. though a note card to remember may be of help.
This is the directions for grafting stockinette, don't worry about a set up, just start straight out as written.
place your seam back to back (wrong sides touching, tips pointing the same direction)
You have your front needle and your back needle.
Thread your tail onto your yarn needle.
When you enter your stitch, enter it form the leading leg like you would when inserting your knitting needle into the stitch. Your leading leg will be the leg of the stitch that is closest to the tip of the needle. Depending on your style of knitting, this will be in front or back... either way, just be sure to enter form the leading leg and you will be fine. Stitch mount really has no effect on how you need to work the kitchener stitch.
front needle: insert yarn needle as to knit, take stitch off the needle, insert yarn needle into next stitch as to purl (leave this stitch on the knitting needles)
back needle: insert yarn needle as to purl, let stitch fall off the needle, insert needle into next stitch as to knit and leave this stitch on the needle.
repeat over and over. until you have removed every stitch from the needles.
Abridged notes if you want to write it down for handy reference.
front needle: knit, drop stitch off, purl
back needle : purl, drop stitch off, knit
even more abridged...
front: K, off, P
back: P, off, K
and that is the ever elusive, forever intimidating Kitchener stitch.

Monday, October 31, 2011
Halloween and... Pumpkins!
Halloween is one of my favorite holidays. for me it feels like the whole holiday season kicks off with Halloween.
I took Anja to see the Rocky Horror Picture show Friday night. I did watch the movie with her at home a few weeks back and explained what seeing it in the theater would be like. But you just cannot explain well enough what the RHPS experience is like to someone who has not been through it.
Our theater didn't allow water but we brought our toast, rice, cards, nose makers, party hats, and toilet paper. We didn't have news paper. When the move started and people were yelling at the screen I don't think she quite knew what to think. Than at the wedding sceene when the rice started to fly she just exclaimed Oh My God! Of course I did what any good mother would do... handed her rice!
The theater was sold out. When they yelled Dr. Scott! I handed her our roll of toilet paper, she asked what to do with it and I told her to throw it ♥
She did have a good time. This is a shot of us at the theater

So we carved our pumpkins last night. We carve the day before or Halloween day because the thin line designs don't last long. I am very proud of mine this year. I think this is my best one yet!
 and in the dark

Anja did Jack

and these are the boys pumpkins (Robert's is the one in front)

I dressed up for the trick-or-treaters this year. The makup is more convincing when not under such bright light. I stopped by unannounced to my sister's house and I scared my niece. I asked Anja to take a photo before i started to wash up. She only got a face shot. I had a gaping wound in the middle of my neck and my shirt was shredded (I had a flesh color cami underneath) and sprayed w/fake blood.

I took Anja to see the Rocky Horror Picture show Friday night. I did watch the movie with her at home a few weeks back and explained what seeing it in the theater would be like. But you just cannot explain well enough what the RHPS experience is like to someone who has not been through it.
Our theater didn't allow water but we brought our toast, rice, cards, nose makers, party hats, and toilet paper. We didn't have news paper. When the move started and people were yelling at the screen I don't think she quite knew what to think. Than at the wedding sceene when the rice started to fly she just exclaimed Oh My God! Of course I did what any good mother would do... handed her rice!
The theater was sold out. When they yelled Dr. Scott! I handed her our roll of toilet paper, she asked what to do with it and I told her to throw it ♥
She did have a good time. This is a shot of us at the theater

So we carved our pumpkins last night. We carve the day before or Halloween day because the thin line designs don't last long. I am very proud of mine this year. I think this is my best one yet!
 and in the dark
Anja did Jack

and these are the boys pumpkins (Robert's is the one in front)

I dressed up for the trick-or-treaters this year. The makup is more convincing when not under such bright light. I stopped by unannounced to my sister's house and I scared my niece. I asked Anja to take a photo before i started to wash up. She only got a face shot. I had a gaping wound in the middle of my neck and my shirt was shredded (I had a flesh color cami underneath) and sprayed w/fake blood.

Wednesday, October 19, 2011
following a cable chart left to right - mirror knitting
So we left handed people who knit mirror (left to right) have to make small adjustments to the meaning of stitches that lean a particular way. Right handed people read a chart right to left and knit right to left which means they are approaching their stitches from the right. Mirror knitters knit left to right and we read charts left to right which means we approach our stitches form the left.
In regular charts where decreases are marked we just switch the meanings. So in a standard chart / = k2tog. And of course a k2 tog is going to slant to the right if you are approaching the stitches from the right. But for mirror knitters \ = k2tog because we are approaching the stitches from the left.
At 1st when you are new to charts and knitting it helps to make these notes on your chart. But as you get comfortable with it you will find you no longer look at the legend and simply do what the stitch is telling you to do because you have come to know how to make things lean left or right and the symbole will either lean left or right \ or /.
The same goes for cables. Because mirror knitters approach the stitches from the left, knitting left to right, our terms for cable symbols also need to be switched.
Your standard, simple cable is a front cable where you place your stitches onto a cable needle and hold them to the front. In mirror knitting this results in a right leaning cable (it leans in the direction you knit). But a right handed knitters front cable will lean to the left because they are knitting right to left.
So when the chart shows a left leaning cable and tells you it means C#F you will C#B and hold your stitches to the back. Or if it shows you a right leaning cable but tells you to c#b you will need to c#f to accomplish the same symbol in the chart.
Again, as with any chart, when you are new it can help to make the notes for the stitches YOU have to do to create the symbol in the chart. But as you get used to charts, cables and knitting you won't need to make these notes as it will be second nature to create the cable the leans proper to the chart instructions. But until then, here is a sample and/or suggestion as to the notes you may want to make on your own chart before embarking on the project.
Here is the chart legend for Knotty but Nice hat (which is a free pattern) with the changes a mirror knitter will have to make.
You will follow the directions for the new meanings for the symbols on the right.

In written patterns it's not usually a big deal but your c4b will lean the opposite way as the designer intends. this may affect a few patterns that are dependent on cables coming together in a particular way. But in general a written pattern can just be followed as written. IF you find you are having problems, all you need to do is swap the front and back instructions.
Life would be much easier if designers simply referred to cables as left and right leaning. No translation needed if they did that ♥
Saturday, October 1, 2011
Art Prize 2011
Here in Grand Rapids Michigan we have an art festival each year (this is the 3rd year) and it is open to anyone and everyone world wide who can find room to put up their art. It's an amazing festival and our museums and other venues are open to the public for free during art prize. The whole down town area transforms into a city filled with art.
These are just a sampling of the art that we had on display this year. It's not limited to paintings and sculptures. Atrists transform the buildings and we have masive murals that crop up around the city.
You can find out more about it at the official site for Art Prize
The winners are determined by a public voting system. People flood the down town area and regester to vote (if you so choose) and those public votes determine the winner of Art Prize.
Art can be found in hotels, businesses, museums, on the street, in bars and restaurants, in the middle of the river... any where and everywhere the artist determines a great spot for their art.
you can click on any of these pictures for a large, clear full screen view. And you can see more of the art that is on display at the Art Prize site
This is the view from the parking garage when we 1st got there. The building is the B.O.B. (a 4 floor bar w/a comedy club in it) and it is accords from our hockey arena.
 3 blind mice


 This one is done with marker directly on the wall. The guy stood in the center and drew this (one of 3) with both hands at the same time. It is on display at the art museum.
 This one is entirely done in ball point pen on fabric.


 This one is made of duct tape!


 All yellow Lego's!
 Monkeys hanging from the walking bridge down town.

 Someone had scattered these hearts in the Grand River


These are made from pages from an encyclepedia


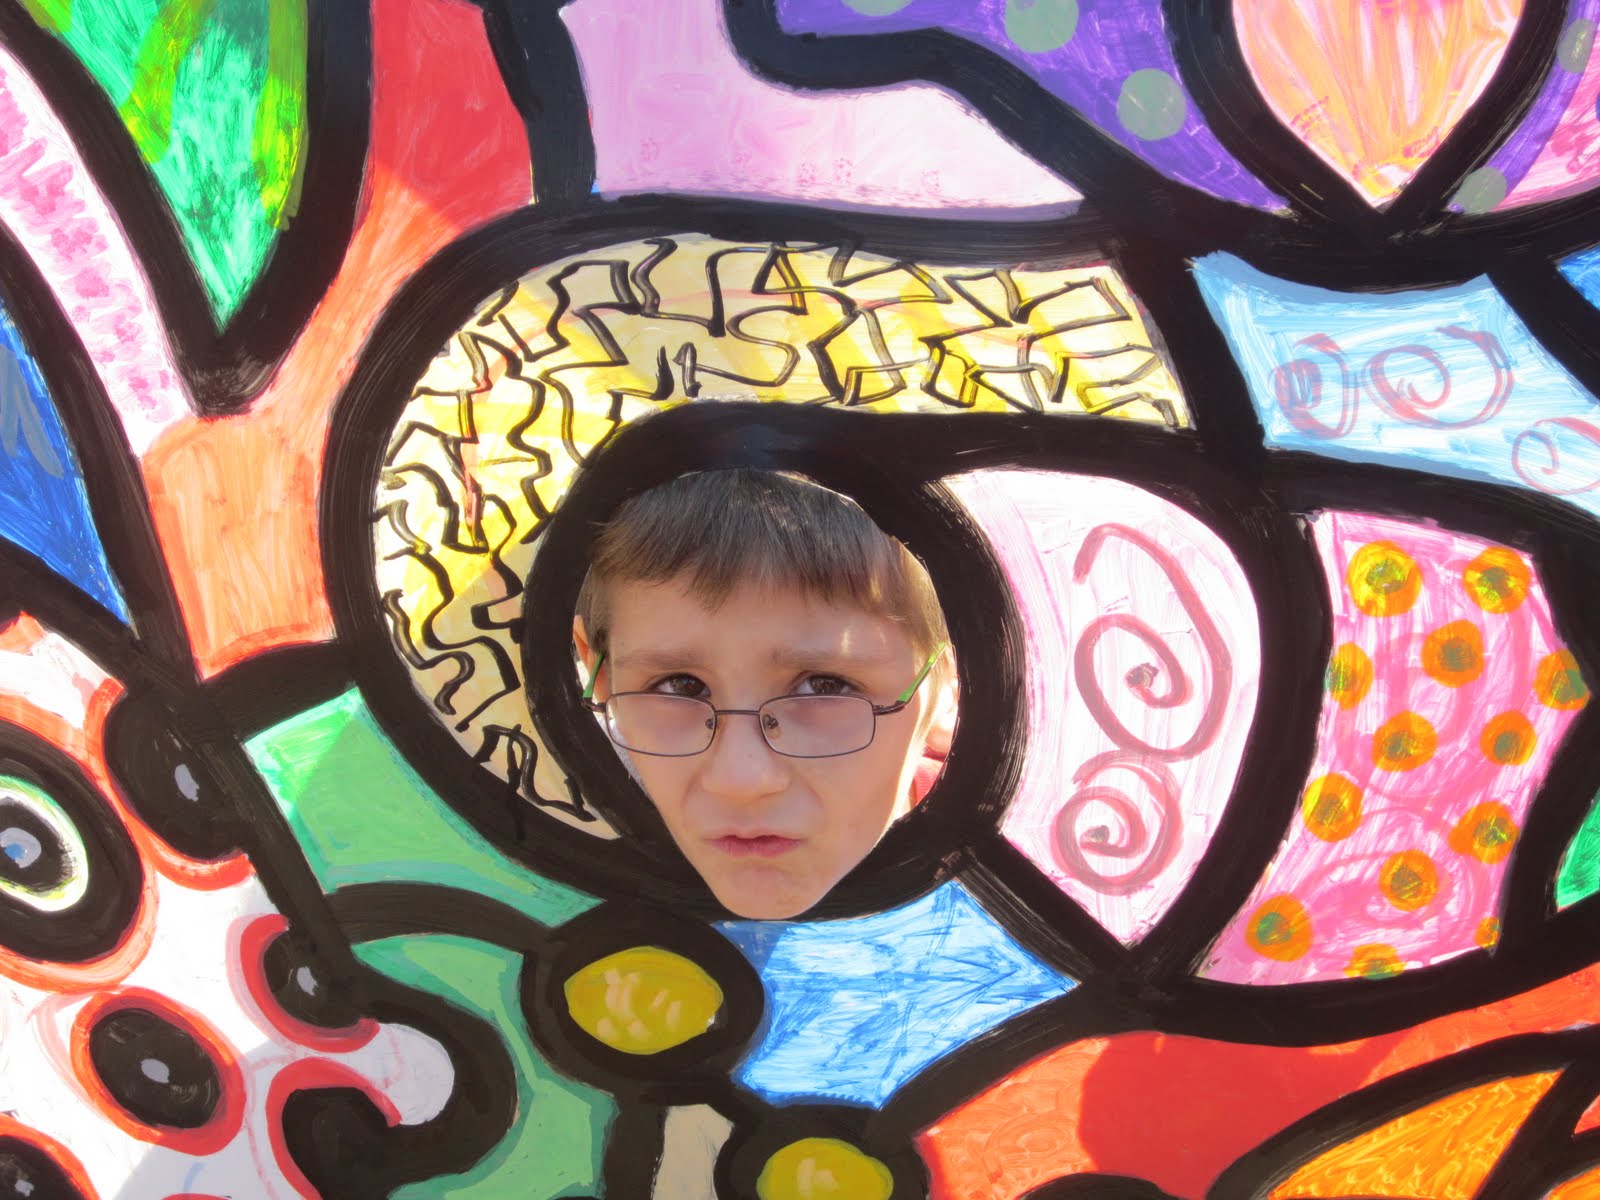
One of my guys in one of the exhibits. there are a good few that are interactive!
 In this one one guy was a real statue and the other 2 were real guys.


These are just a sampling of the art that we had on display this year. It's not limited to paintings and sculptures. Atrists transform the buildings and we have masive murals that crop up around the city.
You can find out more about it at the official site for Art Prize
The winners are determined by a public voting system. People flood the down town area and regester to vote (if you so choose) and those public votes determine the winner of Art Prize.
Art can be found in hotels, businesses, museums, on the street, in bars and restaurants, in the middle of the river... any where and everywhere the artist determines a great spot for their art.
you can click on any of these pictures for a large, clear full screen view. And you can see more of the art that is on display at the Art Prize site
This is the view from the parking garage when we 1st got there. The building is the B.O.B. (a 4 floor bar w/a comedy club in it) and it is accords from our hockey arena.
 3 blind mice

 This one is done with marker directly on the wall. The guy stood in the center and drew this (one of 3) with both hands at the same time. It is on display at the art museum.
 This one is entirely done in ball point pen on fabric.


 This one is made of duct tape!


 All yellow Lego's!
 Monkeys hanging from the walking bridge down town.
 Someone had scattered these hearts in the Grand River


These are made from pages from an encyclepedia


One of my guys in one of the exhibits. there are a good few that are interactive!
 In this one one guy was a real statue and the other 2 were real guys.


Friday, September 23, 2011
Broken stripes moebius & scarf
Broken Stripes Moebius


This is a pattern for a slip stitch striped moebius cowl. Also part of the pattern is another to create the stitch pattern in a regular scarf. There is a great tutorial for the moebius cast on by Cat Bordhi on you tube. Knitting a moebius is really fascinating!
To create this cowl you will need size US 9, 60 inch circular knitting needles and a stitch marker. the cowl is knit mostly in stockinette with a just a few purl stitches. I used worsted weight acrylic yarn.
This pattern is available as a PDF file

To create this cowl you will need size US 9, 60 inch circular knitting needles and a stitch marker. the cowl is knit mostly in stockinette with a just a few purl stitches. I used worsted weight acrylic yarn.
This pattern is available as a PDF file
Subscribe to:
Posts (Atom)