This is a technique I came up with in an effort to eliminate the ends I would have to weave in while making my most recent crochet shawl. I am calling this crochet intarsia. Like intarsia in knitting, this technique allows you to work separate blocks in of color in lace without having to cut your yarn or using other stranded techniques. I leave each ball connected to the project, ready to pick up and work when I get back to it.
Reminder: I'm left handed and crochet left to right holding my hook in my left hand
Being that this is lace work I didn't want to have to weave ends in
everywhere but I wanted it in 2 colors split 3 ways. I have taken photos
of how I did this. But you will have to forgive me as my photos are of
me working this current project which happens to be crochet out of lace
weight black and red yarn so the photos may not be the best (the yarn is a wool/silk blend so it does show up kinda well considering). They should be good enough to
get the idea/technique across though.
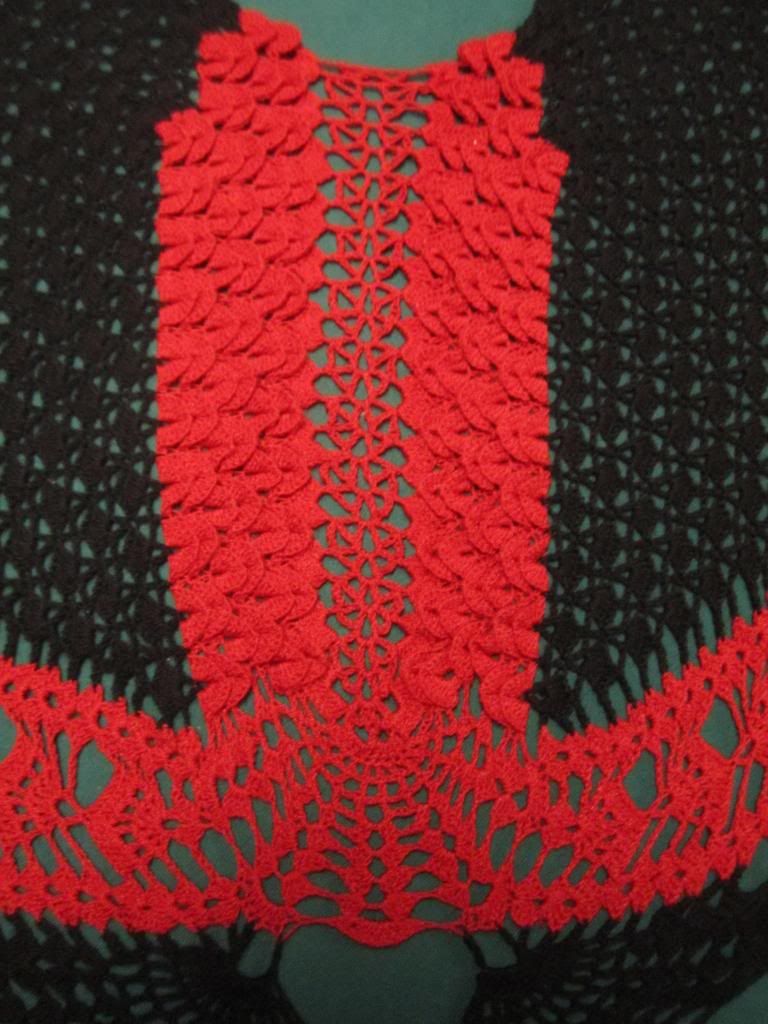
This may seem quite tedious of a process, but when you consider the other option I had to make this shawl in this color scheme was to clip the yarn and weave in each end on every row several times for each color... this is a rather attractive alternative. With this method, the only ends I have to weave in are the 3 from the start and the 3 at the tip of each wing when I am done.
This shawl is the
Icarus Shawl available form interweave and this is the
Ravelry page for the pattern as well.
I have been taking detailed notes as to my changes for this project
on my Ravelry project page
This is the shawl finished and blocked.
You can enlarge any picture for a full clear view.
Here I'm about to start the color switch. I have a chain 3 for my black (space between black and red shell)
I have my loop left on my hook from my chain 3 and now I'm going into the black in the row below where the red passes through the black chain space.
I am doing a yarn over and will draw a loop through the black to give me a working loop to crochet with. still leaving my black loop on the hook. I pretend it's not there. you can drop it if you like.
I have drawn up a loop and am ready to crochet with the red.
I have slip stitched back to the chain 2 in the shell.
I have chained up 2 chains and slipped that loop of black around the loop of red on the hook.
Now I close the loop of red to fit the hook
now I bring my hook around those chain 2 and snag my yarn and bring up a loop this traps that chain 2, this will become part of the 1st stitch.
Here I went into the chain 2 space in the shell below and drew up a loop. I yo and draw through 2 loops on the hook, yo and draw through the last 2 loops completing the 1st double crochet, trapping my black yarn form the other section and also wrapping my chain 2 up into the stitch. I than did 2 dc to complete the 3dc cluster of that side of the shell. The black yarn is left attached to the ball and forgotten till we need it again.
Now I'm at the other side of the red section and have completed my last shell.
I am going to insert my hook into the stitch of the shell below that the black is going through.
Now I yo and draw up a loop of black (note the red loop i was working on is still on the hook, you can drop it or just forget it exists for a minute)
Now I have slip stitched back over the chain 3 space and up the point where I would normally crochet into for my 1st stitch in after the shells section.
A note about slip stitching back over the chain, this is black lace weight yarn so instead of trying to find each stitch I simply slip stitch around the chain, chain 1 and slip stitch around the chain, easier and faster than trying to slip in each stitch. this is how I slip stitch around all the chains in this shawl.
my 1st stitch coming off the red is a chain 3 space and a dc, so I have chained 6 to make the equivilant space. I have slipped my red loop over my black loop on the hook. and now I will slip stitch back over 3 of the chains I have just made trapping the red loop of yarn.
Here I am back to the point to work in pattern.Slipped back the 3 stitches and the other 3 chain stitchs represent my 1st dc. Now I can just work in pattern as written.
I have worked to the end and turned my work and came back to where I just left off in photo above and am ready to change back to the red.
I will insert my hook into the black strip form the row below where the red is trapped through it.
this shows where I have put my hook through the black.
I will now slip stitch back to the chain 2 space of the shell, just as I did earlier.
doing a chain 2 and slipping my black loop from the previous color section around the red loop on the hook.
Now i have brought my hook behind my chain 2.
I have done a yo to bring the loop from behind the chain 2 around to the front and than inserted my hook into the chain 2 space of the shell and will complete the stitch as a normal dc trapping the black yarn and the chain 2 from my chain up.
This shows the black yarn now taped in the 1st stitch of the shell.
and I work across the red section to the last shell on the other side.
I will put my hook into the section of the shell that the black yarn is trapped through and yo and draw up a loop with the black yarn.
Now i have slip stitched across the chain 3 space of the black yarn up to where my 1st stitch is to start in my background shell (which is the 4th dc.
For this pattern, I would normally start this section with a chain 3 space and a sc into the 4th dc in the cluster below (this is the stitch I slipped back to). So I have chained 3
And slip the loop of red yarn around the loop on my hook.
And will slip stitch back across this chain creating the chain 3 space required.
Than I will do a sc into the same stitch I started from and am ready to work back in pattern as written.
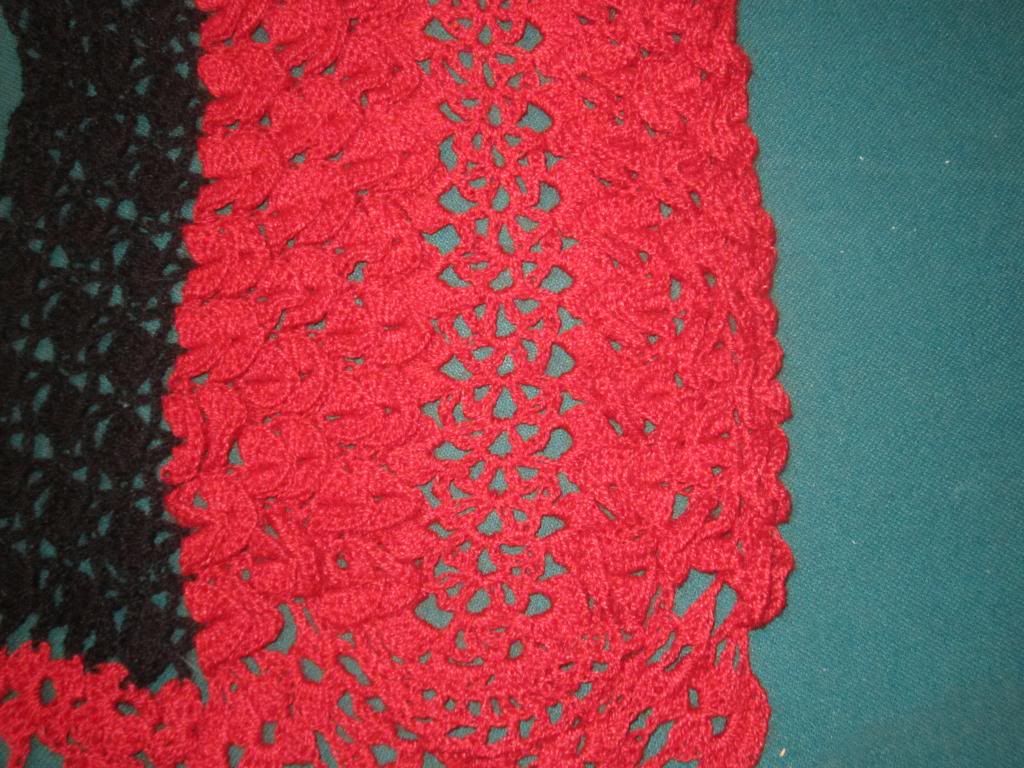
Here is a closeup of the left wing tip. I like how this technique works. Yes, it does make those joining chains thicker, but so would weaving in ends.


